Anatomy of a painting
Last week my husband Jesse and I went to the Art Gallery of Hamilton and saw an amazing exhibition of the Beaver Hall Group, which was a group of both female and male artists working in Montreal in the 1920s. The work was beautiful and I was feeling very inspired, so I decided to start a new painting, of a Toronto streetscape in 1924, and I thought that I would share my progress here to give you a better idea of my process and how I work.
Gel transfers
To begin, though I generally consider myself a painter, I do often start my paintings with a process called gel transferring. The principle of gel transferring is that, by using acrylic gel (like the kind you can get at any art or craft store) on the picture plane side of just about any image printed with a laser printer, you can transfer the ink to a surface such as wood or canvas and then remove the backing paper with water. It sounds complicated but is actually very simple and low-tech. If you’ve never tried it, I highly recommend it if you’re feeling crafty or looking for a good DIY gift! It’s cheap and easy and can yield some very beautiful results. Here’s an easy-to-follow tutorial I found on YouTube that lays down the basics.
An important note: if you’re planning on trying gel transferring for the first time and not planning to paint into it, trust me, you’ll want to do it the way above tutorial describes it, not the way I do it. But for better or worse, I invite you to delve into a brand new painting with me, from start to finish!
Step 1:
Choosing an image
The reason I tend to use gel transfers as a starting point is because I feel that they really add an authenticity to the subject matter of the painting. As I’ve mentioned, I’m working with photographs from the Toronto archives, which span several decades of very real people, places, and moments in time. Using a gel transfer as a basis serves as a sort of proof that the moment depicted in the painting is not a figment of my imagination, but something real that happened to be captured in a photograph. I’m not overly careful or precious with the gel transfer, it’s only the prep work before beginning to paint. You’ll see.
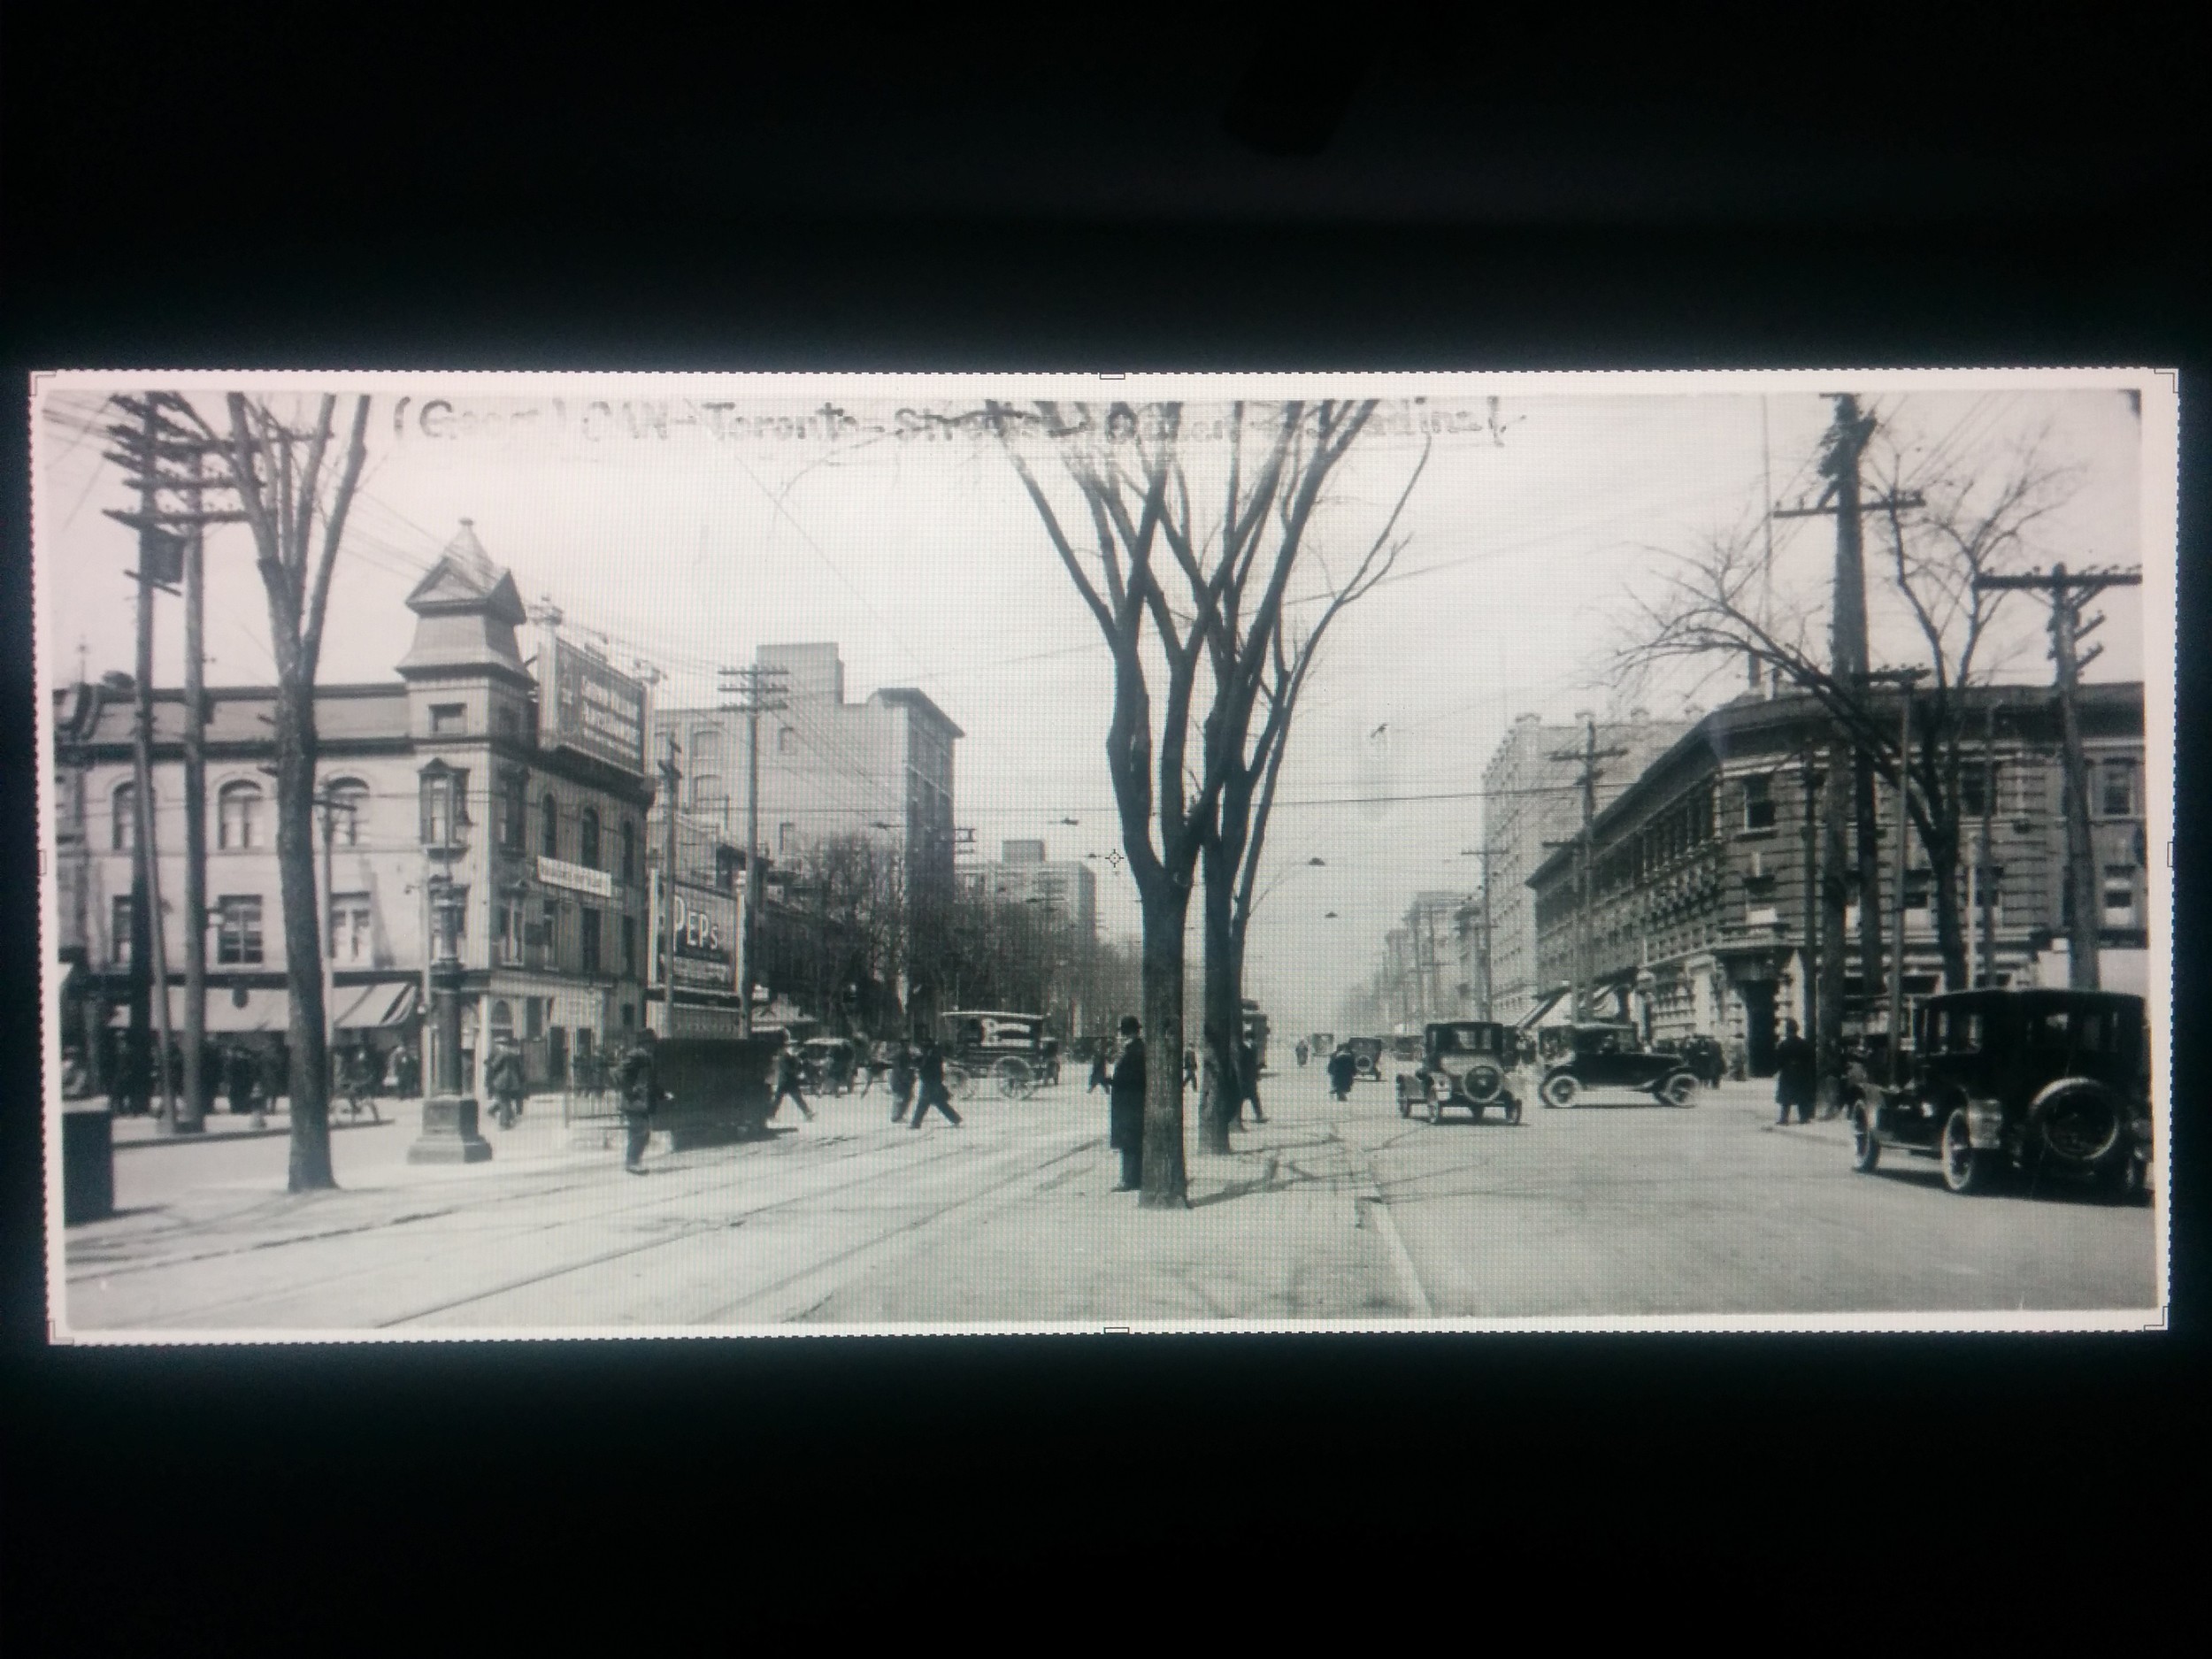
The image I chose is Queen and Spadina, circa 1924. Pretty, right? FYI, to use the photo with permission from the Archives, you need to pay $25 and allow a couple of days for them to send it to you.
Step 2:
Printing, colouring, scanning

Since I want the image to be in colour, and not black and white, I print the picture and use pencil crayon to colour in the image, then scan it back in and play with it a little in Photoshop, then size it.

The image I’ve chosen is going to be 18”x36”, so it will have to be gridded and sliced into 10 pieces so they can each be printed on standard paper.
Step 3:
Prepping the surface

I use acrylic gels to add texture to my wood panel before putting down the gel and image. In this case, I'm using Golden Clear Granular Gel. This adds an interesting dimension to the painting, but can also greatly distort and disrupt the image. Which is okay, since the image will be ultimately be heavily painted. The granular gel dries clear.
Step 4:
Putting down the gel transfer

As you can see, the image has been split into 10 pieces, and now I’m laying down the image piece by piece, face down on a surface painted with an acrylic gel that is common to all gel transfers.
Step 5:
Removing the paper
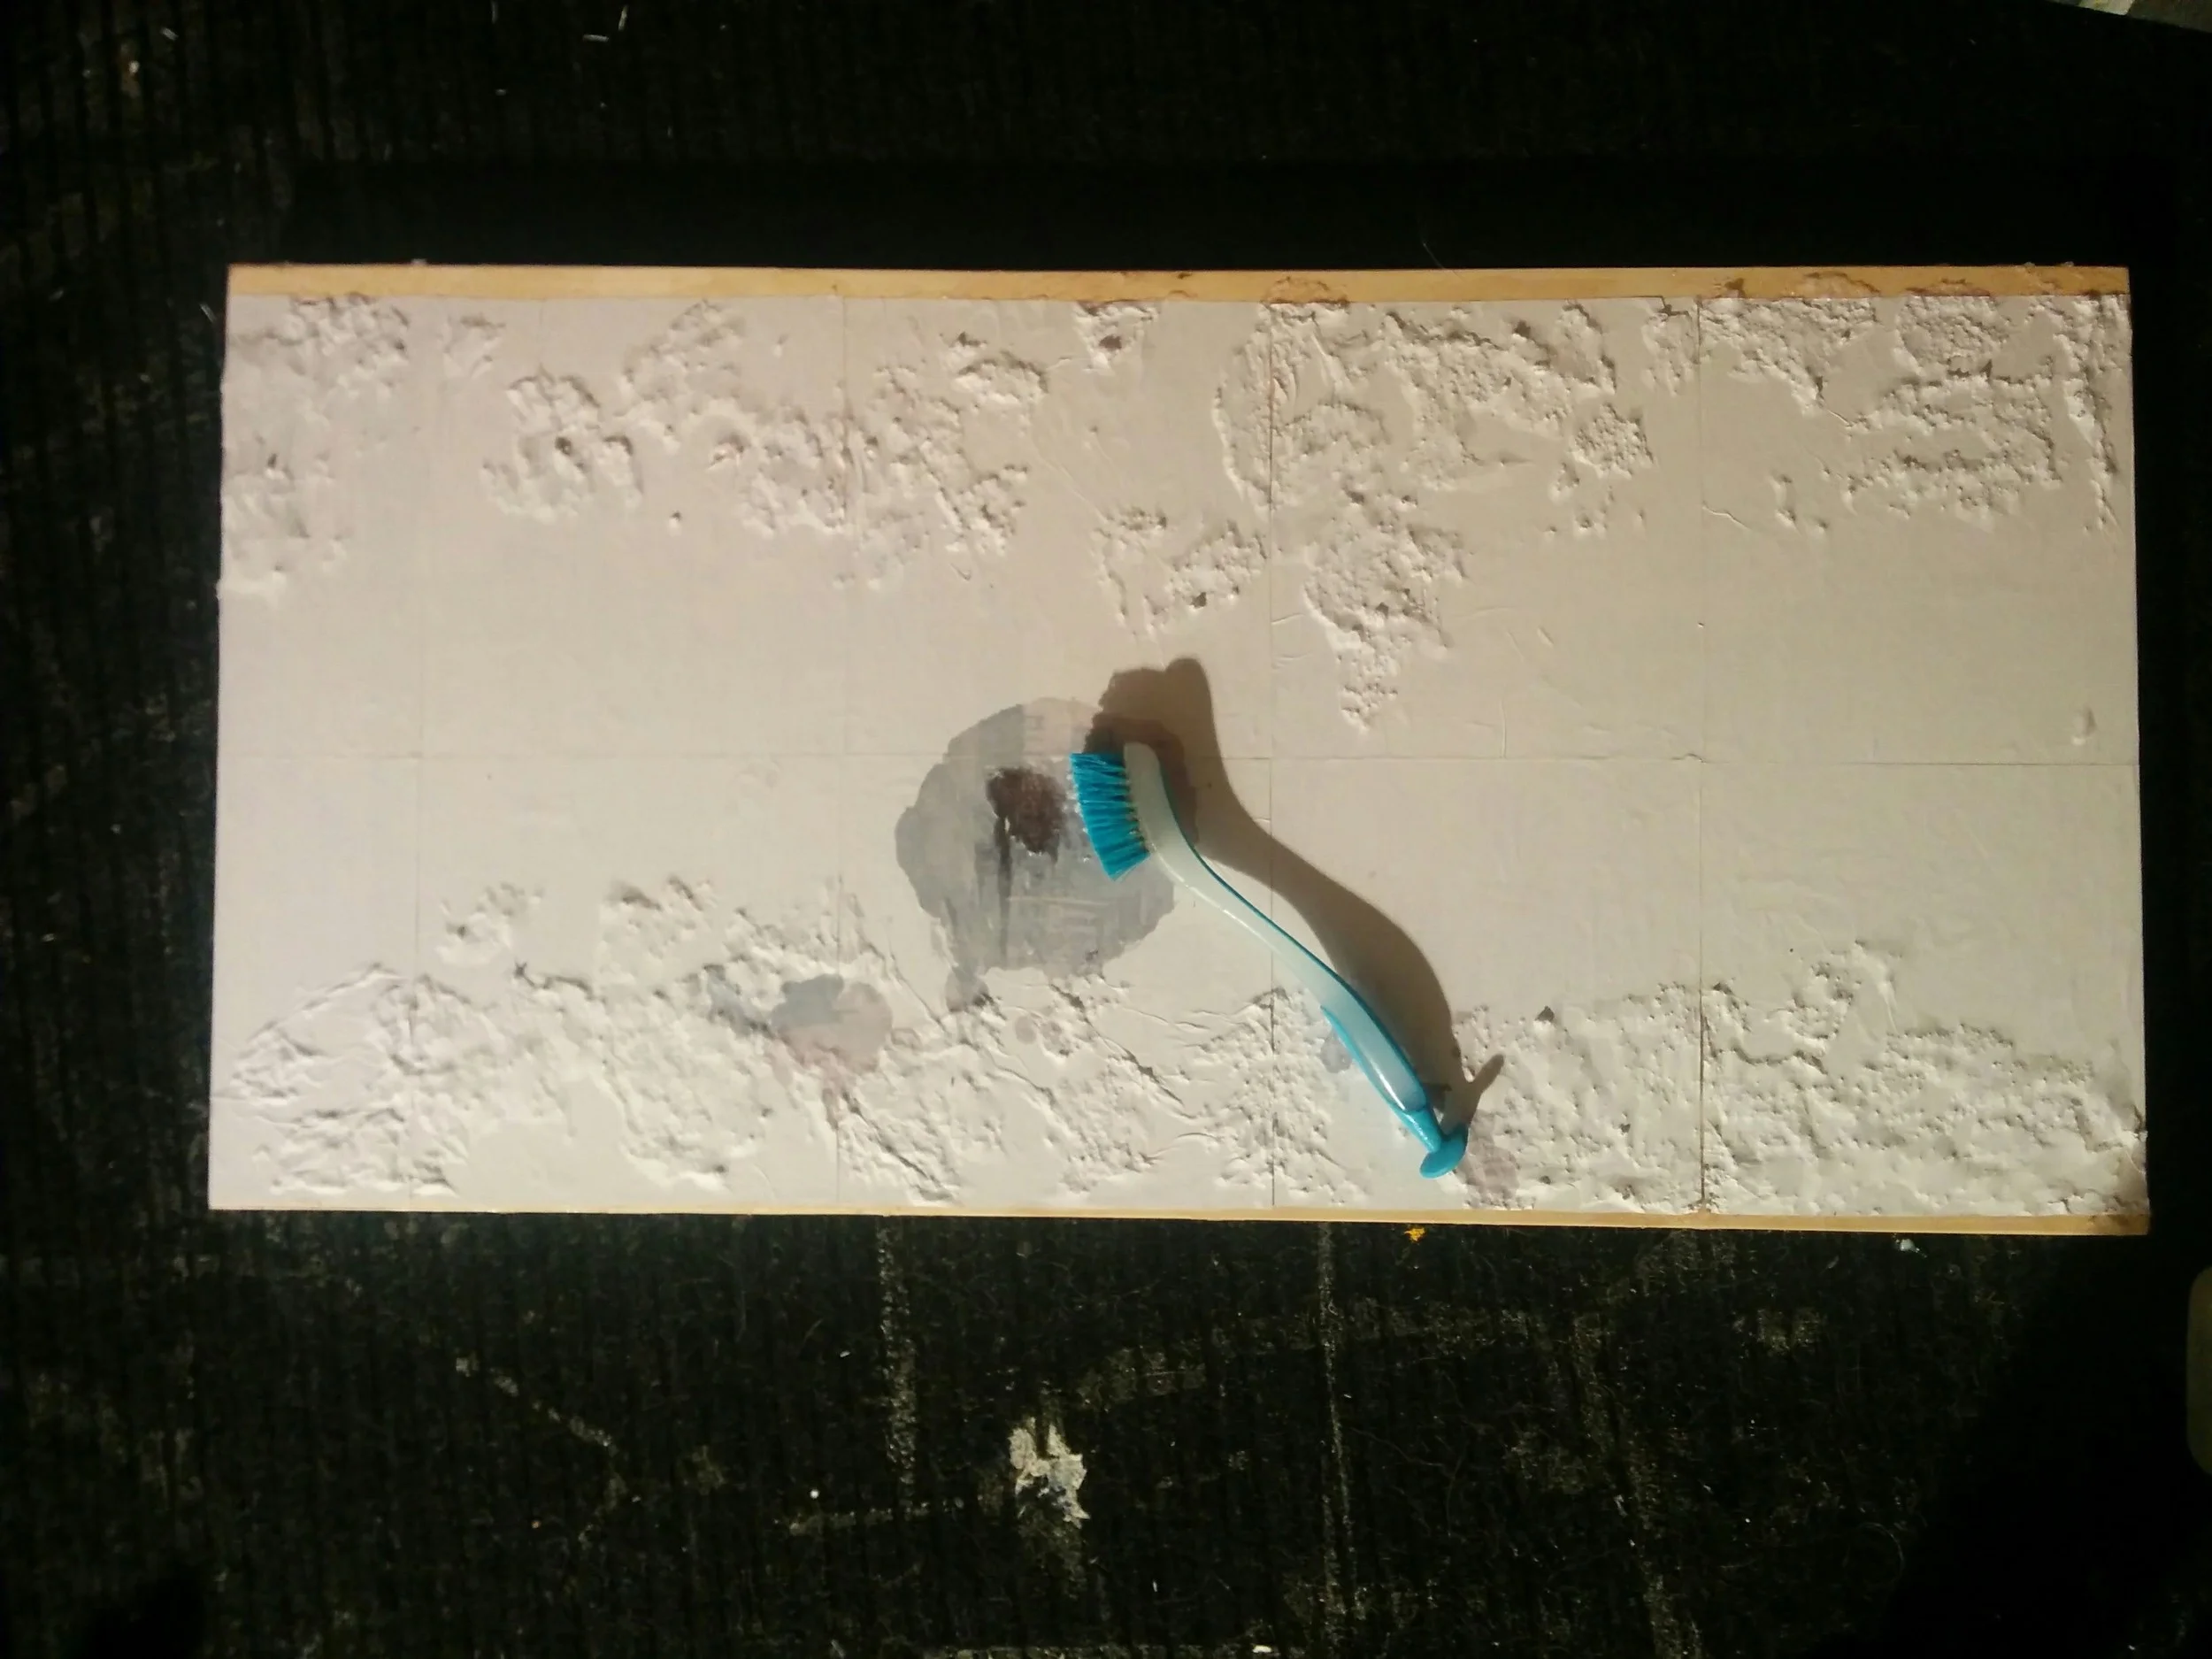

Once the entire image has been put down, it needs to dry for several hours before the backing paper can be removed with water and a household brush or your hands, like in the above tutorial.

So there it is! You can see that it is deeply flawed compared to the original. It's quite crooked, the lines between the 10 sheets of paper are very obvious, and there are a lot of areas in which the ink did not adhere properly. Again, in my case I really don't mind because it's finally time for my favourite part, which is
Step 6:
Painting!

The image on the right is all of the painting I've done so far, in my first two days. The image on the left is the untouched image after gel transferring. As you can see, I've painted the wall of the building, as well as the three windows in the top row and the window on the bottom left. I've also straightened out the wall on the right where it was misaligned during the gel transferring process.
So that's it for today (phew!). Stay tuned in the next few weeks as I continue to update my painting progress on this piece!